Saturday, February 4, 2012

Chocolate Peanut Butter Cake


This cake has become my second favorite recipe, second to my strawberry champagne cake. This is a 4 layer cake technically, consisting of two cake rounds each filled with chocolate gnash. A peanut butter-marshmallow filling lies between the two cake rounds. The whole cake is covered with a chocolate gnash whipped topping. I use the peanut butter marshmallow fluff to decorate the cake and mini Reese's peanut butter cups for garnish.

Here you can see the peanut butter marshmallow filling.
You can also see the thin layer of gnash  in the middle of the cake.

This is what the cake looks like prior to frosting

Here is the frosted cake.

I decorated my cake with a simple shell base border.
The top border is rosettes topped with the mini Reese's cups.

I also added the mini Reese's cups along the bottom  border.

All packed up and ready to go!
I wish I could have cut into it to show you the layers,
but that will remain a mystery to you until you make it yourself.

Wednesday, February 1, 2012

S'more Truffles


I have made my second batch of truffles! This time I made plain chocolate truffles dipped in various toppings and s'more truffles. I used the same 1:2 cream to chocolate ratio for my gnash. These toppings included: cookies 'n' cream ice cream topping, toffee crunch ice cream topping, chocolate sprinkles and Valentine's day heart sprinkles.


I created the s'more truffle by rolling the gnash around a mini marshmallow and then rolling in graham cracker crumbs. I added the marshmallow by pushing my thumb into the gnash, making an indent for the marshmallow. I then molded the the chocolate around the rest of the marshmallow. Lastly, I rolled it in the crumbs.


Saturday, January 28, 2012

Cupcake Liners Galore!!


So today I went a little crazy buying cupcake liners. Normally I only buy one or two different ones at a time and they are normally holiday themed, but today I couldn't help myself! They were all so cute and each one gave my a new flavor idea.

I have used many different liners ranging from the cheap dollar spot ones to the grease resistant to foil lined ones.
~ Foil Lined: I don't particularly care from the foil lined ones. I have had grease puddles at the bottom and I have had them stick to the cupcake. If using them, use a spray on them before filling and use them for cupcakes with lower fat contents. These do hold their color design the best, so if you are looking for visual impact and don't care as much if the cupcakes come out perfect these are the liners for the job.
~Grease Resistant: These are more expensive but you pay to ensure that the design on your liner is clearly visible after baking. I have had no problems with these sticking. If you are baking for your family, testing recipes or if the liner is not an important focal piece of the cupcake I wouldn't spend the extra money on them. However, if the liner design is a focal point of the cupcake, then these are going to guarantee that visual effect.
~Brand Name Liners: These I consider your Martha Stewart, Wilton, Nordic Ware... ect. These are priced reasonably and are readily available at craft stores and well stocked super markets. These are what I use for sharing. I use these for one's I have at party's I host, bring to work or gatherings with friends. For the most part these keep their color, lighter colors and mostly white liners fade into the background of chocolate cupcakes. When making chocolate cupcakes, I always try to use darker colored or more solidly covered liners to stand out against the dark brown cupcake. These are my top pick since they keep their color well, are reasonably priced and widely available.
~Dollar Spot/Discount Liner: These are what I use for testing new recipes and for when the little one's want to make cupcakes. These rarely keep their color, although on a few occasions I have had some they stay as bright as when they went in. If I have one's that are just perfect for what I need. I will either bake them in a plain white or other coordinating color and then put in the liner after they come out or bake them double lined. These will work fine and perform as well as higher grade liners as far as sticking. Main points, perfect for testing recipes, if you see some you have to have: double line them and if the kiddos are baking, they will enjoy them just fine.

I buy most of my liners at Michael's Craft Store or at Target in their seasonal department. If you are buying in bulk, such as basic solid colors or for large orders, I would suggest looking online. Online sites tend to offer bulk pricing or even wholesale pricing on large quantities. I will warn you, check the quantity before you buy, I have had many friends wind up with 1,000 liners per pack! While they might be a fantastic price, do you have room to store them and will you use them? I have also done cupcake liner trades with people before, kind of like a cookie swap but with cupcake liners. This is a great way to grab a specific design with out having to buy a whole pack and getting rid of liners you are bored of or aren't going to use anymore.  This is very easy since most liner packs are split into 25 count sections, I don't suggest swapping smaller quantities since batch sizes vary from 12-24 cupcakes. While going through my collection I realized I also have a ridiculous amount of sprinkles and toppings, so look for that post coming soon!

These are the holiday liners I had
Valentine's Day/Sweetheart Liners 
St. Patty's Day
Different Floral Prints
These are a pearly pink wrap with lace hearts along the top. 

These I got for a tea party theme.
 I also thought  of Neapolitan cupcakes in the the tea party ones. 
These I got for to make cupcakes for my best friend,
Sweetie is our nickname for each other.
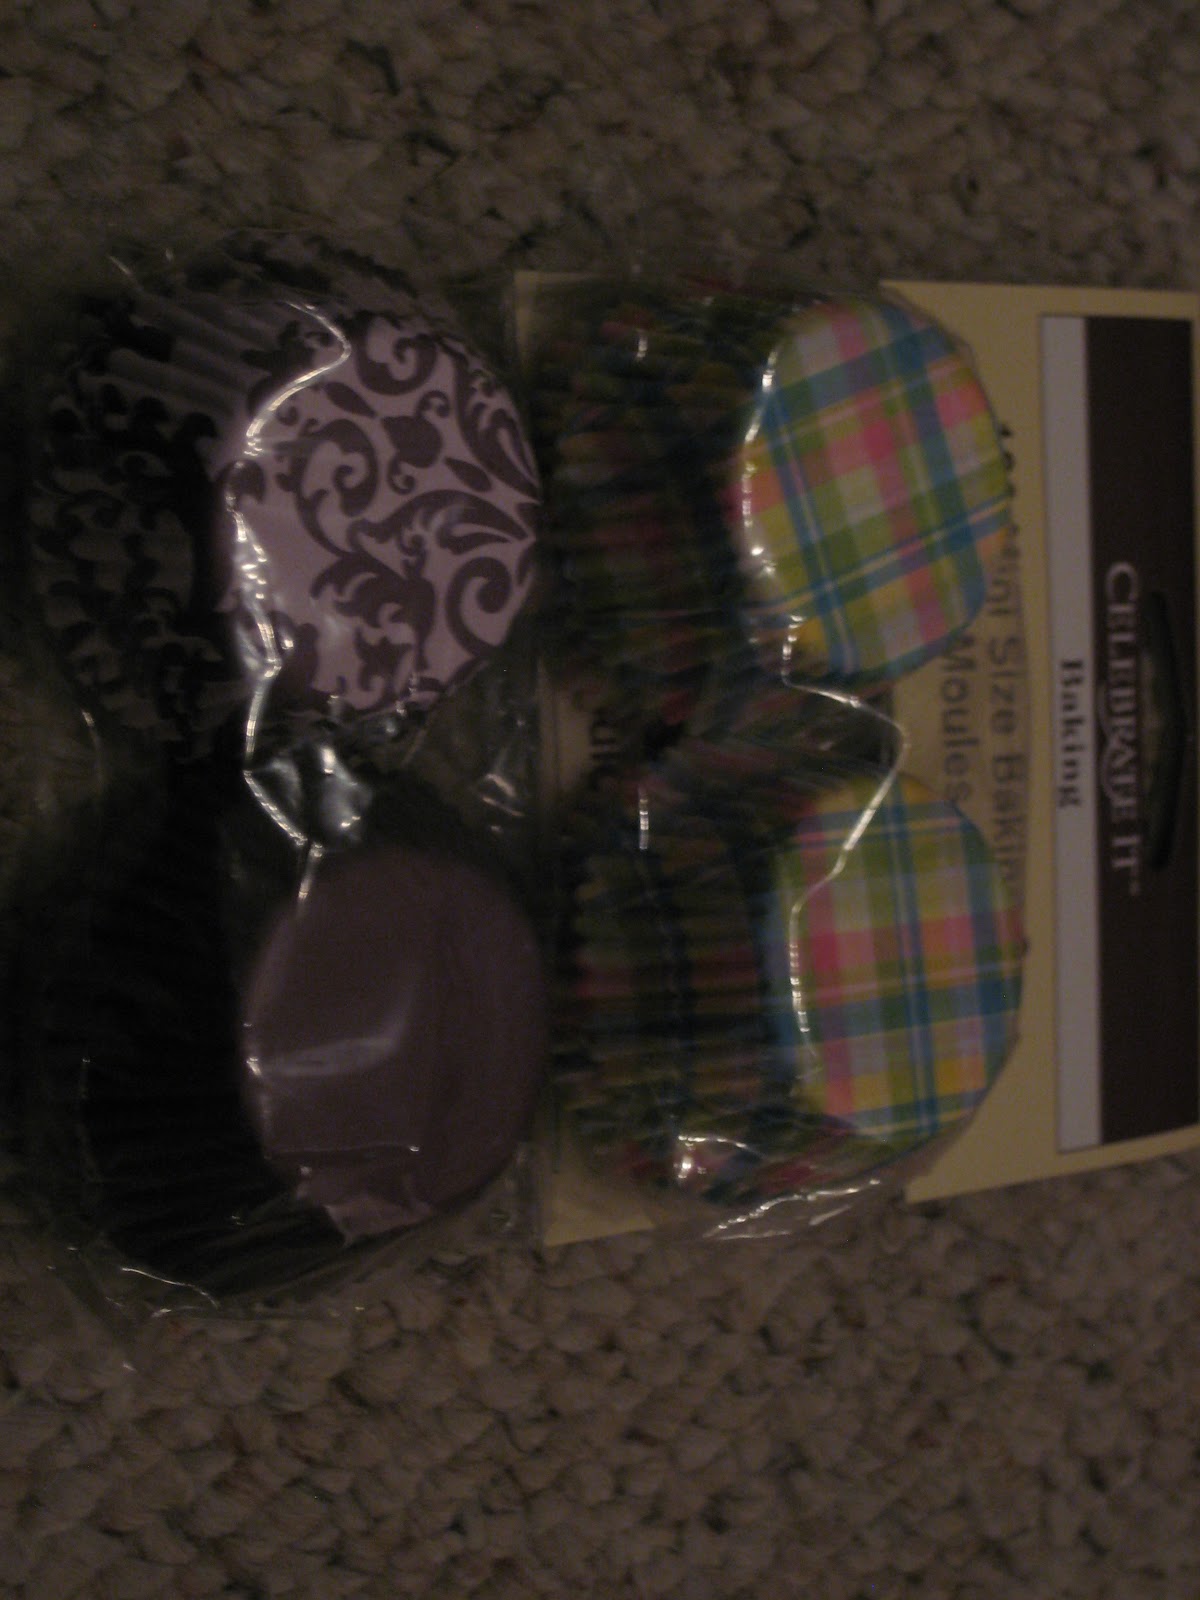
Mini's in purple damask, royal purple and spring plaid
Girly Pinks and Purples
How cute are these back to school liners. A perfect treat for that first lunchbox or
a special treat for the teacher as a thank you or
Teacher Appreciation Day


* I am sorry if some of them looked flipped, I could not get them flipped ride side up again after they uploaded. Please leave a comment if you know how to do this, they are saved right side up in my folder and  flip when they upload? I even went as far as flipping them wrong in the folder first and they still uploaded sideways!


Friday, January 27, 2012

Chocolate Truffles


This was my first go at making truffles! I will admit, I was scared to make these silky smooth chocolate drops of heaven. I was nervous that I wouldn't be able to roll the same size truffles, get the chocolate to melt right, get them to taste right, stay together...the list went on. I was so surprised at how easy they are to make. I feel like I have missed out on years of truffles and how many flavor combinations could I have tried by now?! I can say that I am now hooked and I will be testing many more flavor combinations in the future.

I spent hours looking for different truffle recipes, flavor combinations as well as tips and techniques. Here is a list of ones I saw over and over again ant that helped me:

1. A truffle is chocolate! With that being said, the chocolate you use makes the truffle. The chocolate has to be chocolate that you would enjoy eating. You do not have to buy the most expensive chocolate you can find, but the cheapest won't give you that rich chocolate flavor you are looking for. I used Ghirardelli Semi-Sweet Chocolate Chips.

2. Keep your hands COOL! Especially if you are rolling your truffles by hand. For my first batch, I had a bowl of  ice water and a towel next to me. I would chill my hands every 2-3 truffles. For my second batch I had a pound of frozen hamburger to hold onto for a few seconds between truffles.

3. Be Quick! Roll and top as you go unless you are topping with a chocolate coating. The quicker you move, the better your truffles will hold their shape.

4. Make what you like. There are endless topping and flavor combinations. Use what you have on hand, what your craving or whatever intriguing find you can snag at your local shops. If you like milk chocolate, use milk chocolate or dark or any combination. There are no rules, keep tweaking your recipe until you have a taste and consistency you like.


I did not use a recipe! I looked at a countless amount of basic truffle recipes. I realized that finding a ratio that I liked was probably going to take a few tries of adjusting ratios of chocolate and cream/fat. I noticed some recipes called for butter and some did not and the ratio of cream to chocolate ranged from 1:4-3:4. I decided I would start right in the middle with a 1:2 ratio of ounces of cream to weight ounces of chocolate. I also decided I would add some butter to my batch. I think it added a wonderful silky texture to my truffle, with out it I don't think there would have been enough fat to create that texture. I was so pleased with this batch I'm not sure how I could top my base gnash.


I split my gnash into two batches of 1/3 and 2/3. I added about 1 tablespoon of coconut milk to the 1/3 portion. I had this left over from my Banana Coconut Tres Leches Cake. I also coated this batch in two different chocolate topping. The first coating was a little thinned gnash. The second, was some hard chocolate shell. I then rolled some immediately after dipping in sweetened coconut shavings. The others I just sprinkled a few shavings on top after dipping them.


The second batch I left as just plain gnash and rolled them in various toppings. A few I dipped in the thinned gnash (those are the larger ones). I had three toppings: Ghirardelli Sweetened Cocoa Powder, sprinkles and Toffee Crunch Ice Cream Topping from Wilton.

A possible Valentine's Day  treat box.
My Recipe:

1 12oz bag of Ghirardelli Semi-Sweet Chocolate Chips
6 oz heavy whipping cream
1 tbsp unsalted butter
Thinned gnash for dipping
Melted Hard Chocolate Shell for dipping
Sprinkles for topping
Toffee Crunch Ice Cream Topping for topping
Ghirardelli Sweetened Cocoa Powder for topping

Bring cream just to a boil in small sauce pan. Add chocolate chips to a bowl along with the butter chopped into small pieces. Pour the heated cream over chocolate. Let sit for 2 minutes. Stir until smooth (I had to microwave my mixture for two 10 second intervals to fully melt all of the chips). I then poured the mixture into two pie tins and placed in the fridge for 2 hours. 

After the gnash was chilled I used a melon baller to scrape up the chocolate. I rolled it smooth and the rolled in toppings or dipped into chocolate using forks to retrieve them. I placed them back on pie tins lined with wax paper and placed them back in the fridge to finish setting up. 


A few thoughts on the chocolate coatings:
I could not get my chocolate coating smooth, I let the water in the double boiler come to a boil and scorched my chocolate. It tasted good so I added some more cream to thin it out and decided to use it anyways. If these were not a test I would have melted a new batch, but for this test batch it worked just fine. I did love the extra crunch the chocolate shell coating added to the truffle. I will be experimenting with creating a hard shell on future truffles. Also next time I will place the dipped but not coated truffles on a wire rack to stop pooling around the bottom. 

I hope this inspires you to try making truffles and calms any fears you too have about making your own truffles.

Tuesday, January 24, 2012

Banana-Nut Bread


This is the first recipe I have tried from my newest cook book: The Williams-Sonoma Baking Book: The essential recipe collection for today's home baker. I was so excited to add this monster of a baking cook book as well as excellent baking reference book to my collection. I had a few bananas left over from my Banana Coconut Tres Leches Cake and I decided to try a new banana bread recipe.

Crunchy Crusty Outside, Moist Fluffy Inside
I was a little nervous to try this recipe because it called for buttermilk. I am not a fan of buttermilk and i tend not to favor food made with it. As a result of my dislike of buttermilk, I did not have any on hand and could not justify buying some for 1/2 cups worth, so I used the book's substitute. Through making the buttermilk substitute I learned that next time I will use yogurt instead as the "buttermilk" mixture did not seem to turn out right and I think effected the taste of the bread. The bread had a subtle tangy taste to it, but more noticeable than from buttermilk. I was not 100% pleased with the bread, as you would guess since I do not like buttermilk, but my family who does like products made with buttermilk said it was an excellent banana bread. The texture turned out wonderful, it was moist and fluffy with a wonderfully crunchy outside. I will give this recipe another go the next time I have left over bananas using yogurt in place of the buttermilk and I will post the differences if any I find!

Banana-Nut Bread:
(Makes one 9x5in loaf)
6 tbsp unsalted butter at room temperature
1 c sugar
3 large eggs
2-3 mashed bananas
1/2 cup buttermilk (or substitute*)
2 c all purpose flour
1 tsp baking soda
1 tsp baking powder
1 tsp ground nutmeg
1/2 tsp salt
3/4 c  chopped nuts of your choice (walnuts, pecans, hazelnuts)

1. Preheat oven to 350. Grease and lightly flour 9x5in loaf pan.
2. Beat butter and sugar until creamy. Add bananas and eggs, beat until smooth. Add buttermilk and beat until just combined.
3. Stir together dry ingredients excluding the chopped nuts. Add the flour mixture to the banana mixture just until combined. The batter will be slightly lumpy.
4. Pour the batter into prepared pan, not filling more than 2/3 full. Bake 55-50 minutes until toothpick inserted comes out clean. Cool bread 5 minutes, then turn out onto cooling rack to finish cooling.

*Buttermilk substitute (for 1 cup or 8oz):
1 cup milk plus 1 tablespoon fresh lemon juice or 1 cup plain yogurt

1. Stir the milk and lemon juice. The milk will start to curdle leaving small granular lumps along the side of the bowl.

Banana-Coconut Tres Leches Cake


I have only ever had Tres Leches cake once in my life, and I hated it! It was horribly granular and had a fake overly powerful vanilla flavor to it. With that in mind, I came across the most decadent looking Tres Leches cake. This version is a banana cake drenched in a coconut milk tres leches mixture topped with a coconut whipped topping. The cake recipe is from a Betty Crocker magazine and I used my coconut whipped cream recipe.

Here you can see the delicious Coconut Tres Leches mixture around the
cake  and the puffy cloud of coconut whipped cream!
Cake Recipe:
1 box Betty Crocker Super Moist white cake mix
1 1/4 c water
2 tbsp vegetable oil
3 eggs
1 c mashed banana (3 medium)
1 can (14oz) sweetened and condensed milk
1/2 c canned coconut milk
1/2 c whipping cream
1-2 sliced bananas for garnish
1/2 c toasted or sweetened coconut shavings for garnish

Coconut Whipped Cream:
12 oz whipping cream
1/4 c sugar
1-2 tsp coconut milk

1. Heat oven to 350. Grease only the bottom of the pan (13x9)
2. In large bowl, beat cake mix, water, oil, eggs and bananas for 2-2 1/2 minutes. Pour into pan.
3. Bake 33-38 minutes. Cool completely  (in pan) for about 1 hour.
4. Mix together sweetened and condensed milk, coconut milk and whipping cream. Poke cake with long0tined fork every 1/2 inch, cleaning fork occasionally to reduce sticking. Pour mixture over top of cake.
5. Cover, refrigerate at least two hours or overnight.
6. In large bowl add whipped cream ingredients. Beat until right before stiff peaks form (*Add the coconut milk to your taste, I love coconut so I added even a little bit more. Taste your mixture before you whip it.)
7. Frost cake with whipped topping. Add sliced bananas and shredded coconut for garnish

*This cake was the best on the second and third day I believe. The cake had time to soak up all of the tres leches mixture and the coconut flavor from the whipped cream was slowly starting to seem into the cake. It was like eating a tropical fru-fru drink on the beach!

Thursday, January 19, 2012

Valentine's Day Cupcakes

Okay, so Valentine's Day isn't for another month, but why wait! I love pink and I couldn't resist opening my new Valentine's sprinkles. Plus, my friend is moving away and these are her favorite. I made a new take on my Strawberry Champagne Cupcakes. For this batch I did not use champagne; I did not have any on hand and I wasn't going to buy and open a new bottle for just over a cup. Instead, I used 1 1/4 cups of a Jamaican Breeze wine cooler. This added more flavor than the champagne and still added the light fluffiness with the carbonation in it.

The batter becomes this beautiful light, silky, fluffy, pink, strawberry scented mixture.

I only ever bake one pan at a time on the center rack. I have a small oven, but this is best practice if you do not have a convection oven. If you must bake more than one batch, leave at least one inch of room around each pan and switch position in oven and rotate half way through. Please ignore my messy oven, it would have been cleaned if it knew it was getting a close up.


Once they come out, they are a light hue of pink. If they are golden brown you have cooked them too long.

These are the finished product. I added some strawberry puree to a can of vanilla frosting to make a thin icing. Then, I dipped them in it just enough to coat the tops. Finally, I added various Valentine's Sprinkles. I also left some without icing and just topped them with a dusting of powdered sugar and I think they were my favorite of the whole bunch. They looked like a perfect little tea cake and they weren't over powered by the sweetness of the icing. 

Related Posts Plugin for WordPress, Blogger...